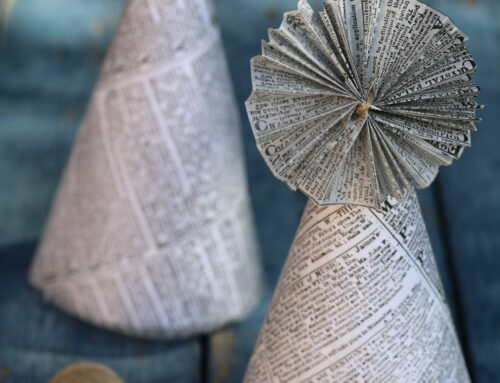
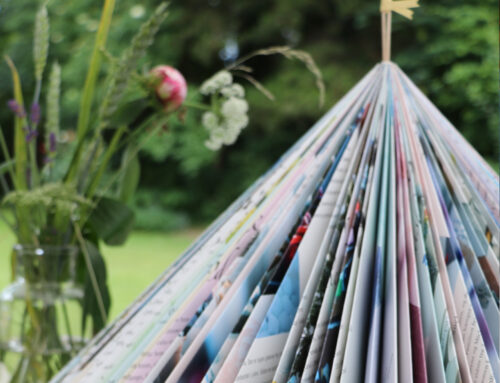
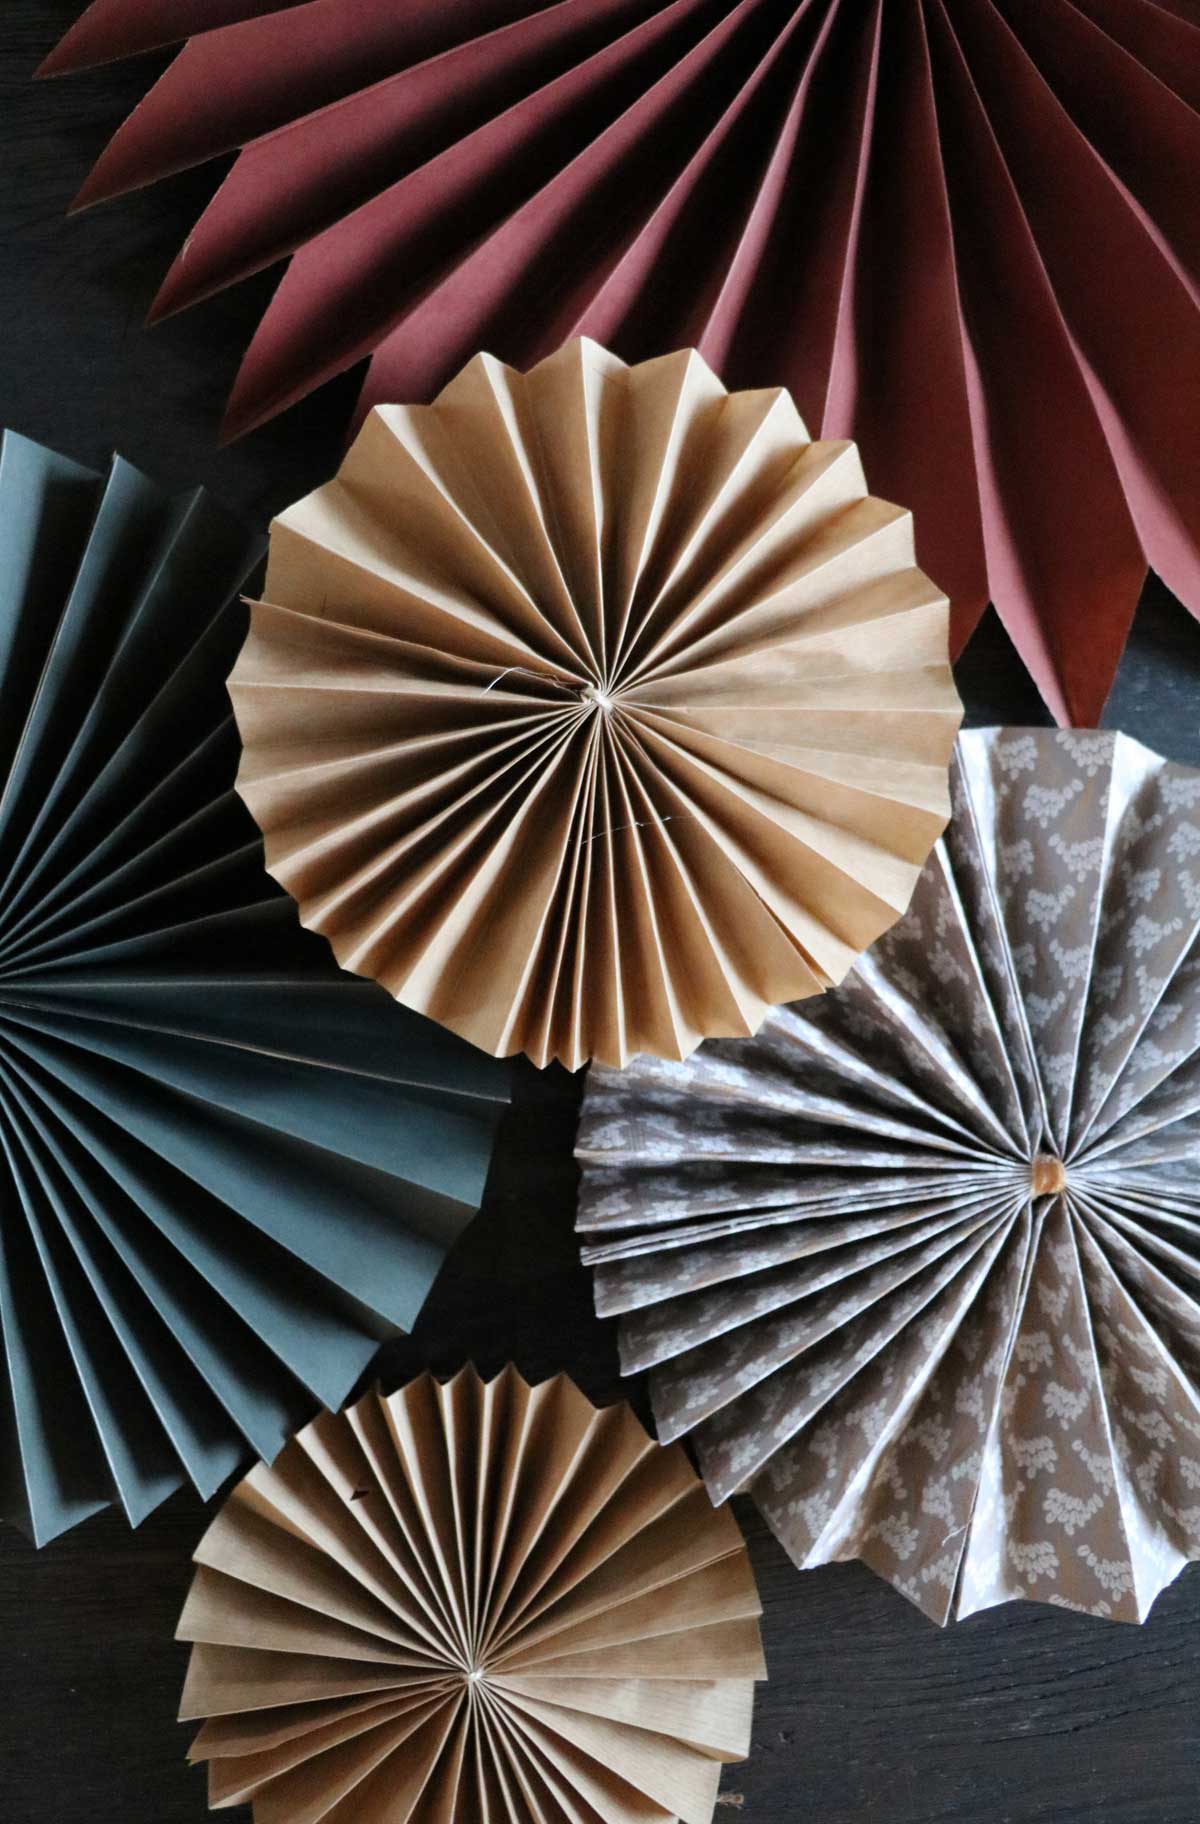
We can’t get enough of these fine D.I.Y Paper Rosettes. Different paper, ribbon, size and cutting technique allow them to change infinitely and to suit different types of homes. We hang ours everywhere! In the windows, on cabinets and the small ones on the Christmas tree. Or why not as a sweet decoration on the Christmas gifts? Here is a guide on how to make them – but we would love to hear where will you will hang yours, so please do comment below. ♥

Recipe
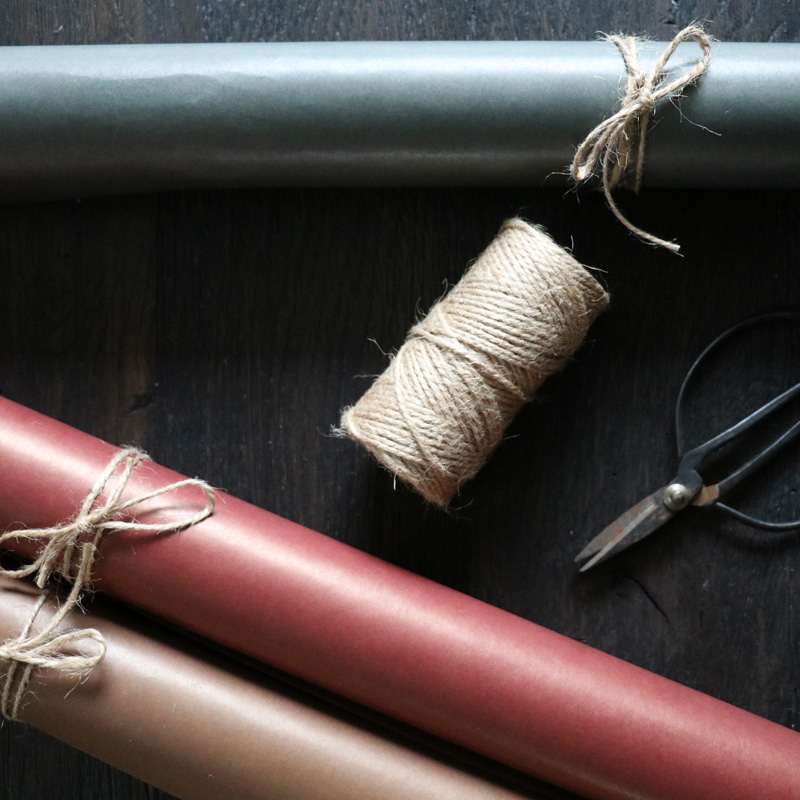
You will need:
• Gift wrapping paper or scrapbook paper
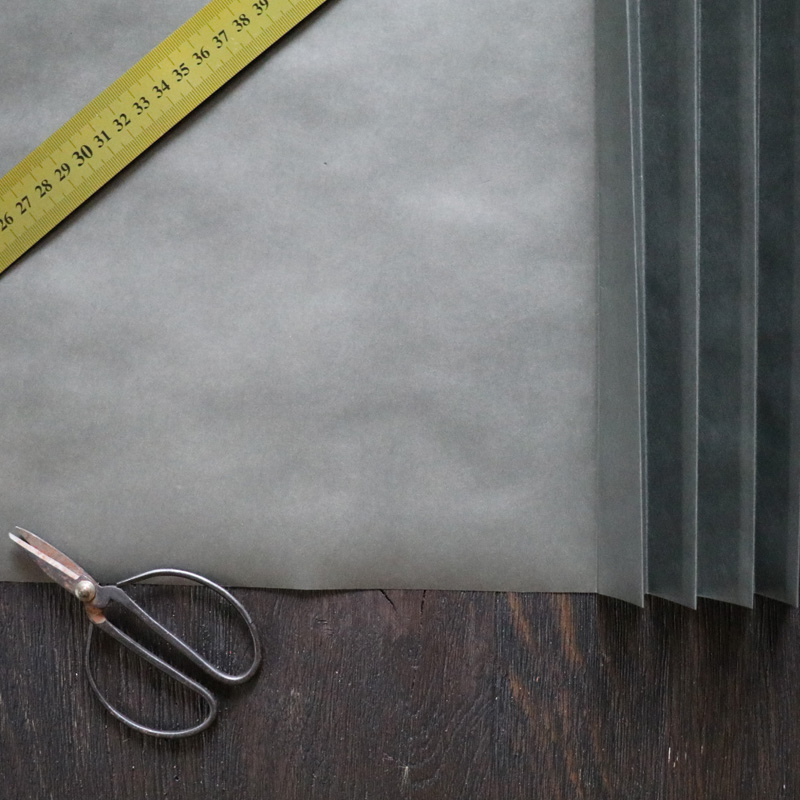
• Ruler and a pen
• Scissors
• Ribbon or twine
• Hot glue
Tip!
For a more neat expression – cut fine patterns in the rosette.
How to:
- Cut 3 rectangles in the size you want your paper rosette.
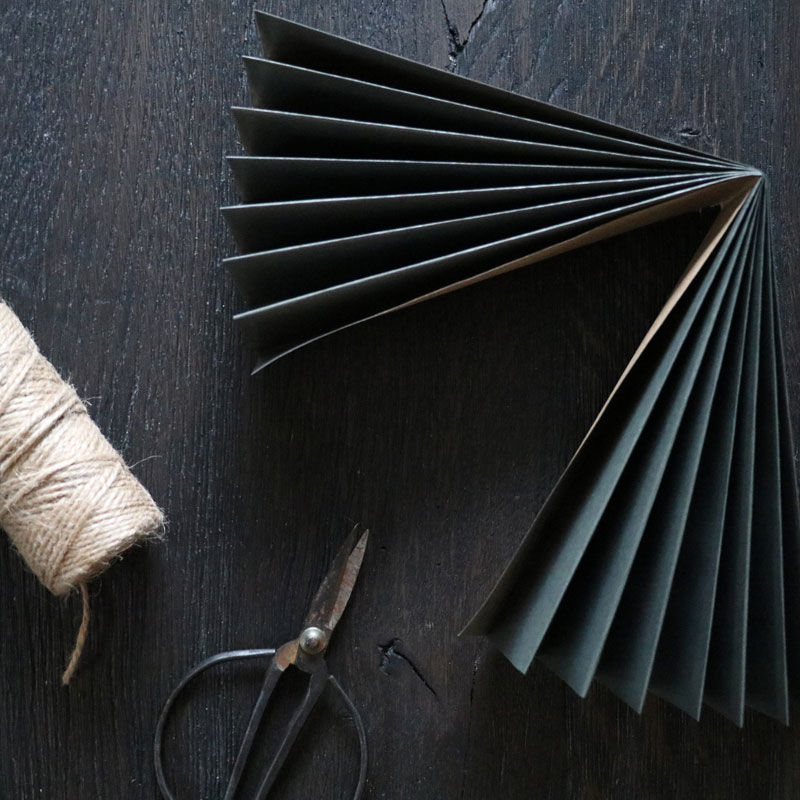
- Fold the 3 rectangles into an accordion, with 1,5 cm increments (fold it one way then turn it over and fold it the other way). Make sure to make really sharp creases.
- Fold them halfway to the middle to create a fan.
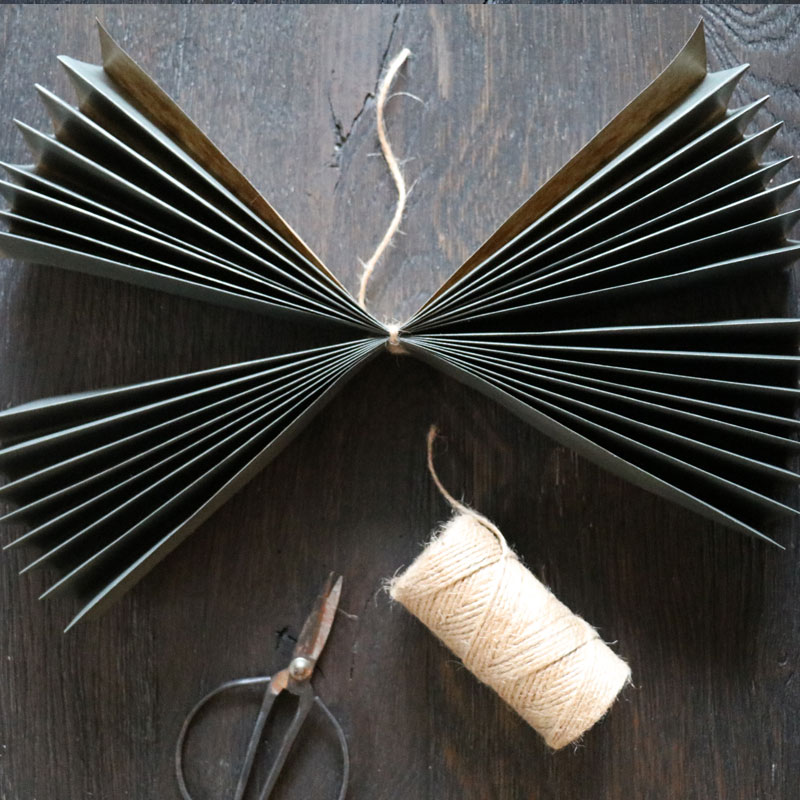
- Take a piece of twine or ribbon and twist neatly around the folded paper strip.
- Trim the ends to ensure that both sides are equal and straight.
- If you want, you can now cut the 2 corners off on each end of the paper to create points or just leave them as they are.
- Pull the edges together to make a 1/3 fan and stick together with hot glue. Repeat with the other side but glue it to the other fans until you have circle.
- Make a small hole in one of the creases for your ribbon if you want the rosette to hang for example in the window.
